


Hawk
-
Posts
1,324 -
Joined
-
Last visited
-
Days Won
153
Content Type
Profiles
Forums
Gallery
Posts posted by Hawk
-
-
Here is a link to the pattern I drafted.
http://s268.photobucket.com/user/Hawk220/library/Officer%20Pattern%20ID?sort=3&page=1
It should give you a solid base to work from.
-
We were in an Irish Day Parade, and my wife was marching with 2 other in CorSec (Green X-Wing) and they were walking with one of our clones, Wolffe to be exact, when some kid shouts "It's Captain Rex and the Space Pirates!!!"
At that moment, I decided if I ever have a band, that is going to be it's name.
-
If the main antagonist were to be a little unhinged, he might "See" Vader, especially if he's obsessed... It's not uncommon for Skywalkers to hallucinate seeing the dead, Luke did it all the time.
- Arch27 and BensID39999
-
 2
2
-
There is a tutorial on how to make them. If you can't find anything, perhaps you could give making them a shot?
http://www.imperialofficer.com/forum/index.php?/topic/1812-strongbows-code-cylinder-tutoral/
-
-
Multiple officers from Ep. VII will have long jackets. I would wait and get something like theirs.
-
I've had it for 6 months and there isn't any rust, but is it aluminum. Non-ferrous metals don't tend to rust...
-
I hate to say it, but the buckle I have is cast aluminum and I love it! It's a WampaWear, so you would need to contact them on their website, but the belt is amazing, and if I remember correctly, it was inexpensive.
-
I know, I know... I NEED to finish this...
-
I would defer to BJ on this. He has been doing this much longer than I have!
-
Okay... Without getting too technical, let's see if I can explain. I think these listings are wrong. The term "Rubber" is being used to classify certain synthetics. That is incorrect. Rubber is made from the saps of trees, mainly the rubber tree. It undergoes heavy refining to create rubber. PVC (PolyVinyl Chloride) is a plastic derivative. When you add plasticizers to PVC, it becomes flexible. I think most of those listing are using the term rubber when they mean plasticized PVC. It's easier to just say rubber in their listings.
As far as approvable, it all depends on how they look with the costume. I think for base approval, those would probably work. It would be a decent way to get in while you look for leather boots. No costume is ever done, I am constantly trying to improve mine, after all isn't that why we have levels?
But that is just my opinion. I have a very relaxed GML; I know some of them are very strict. Ultimately it comes down to how everything looks together.
-
Whoh. Let's keep a few things in mind. CosplaySky didn't design these outfits we wear. If the outfit is accurate, it has to look like a copy-cat, and I would never work with a site that doesn't keep 501st in mind. The 501st is their target audience, if they didn't keep our standards in mind, that's just poor business practice. They do decent work, and I hope they keep at it. With a few minor changes, they could be approvable.
-
For about the same price CosplaySky does a better job.
http://cosplaysky.com/star-wars-imperial-officer-uniform-costume-deluxe-version-new.html
-
You might be able to get in with their wares. There is top stitching, the seams are wrong, and i have no idea where the buttons on the sleeves came from. Their hat looks okay, but those things can vary in size. I think there are much better options for outfits.
-
Let me see if I can explain, I probably can't. Hexachrome is a process. Standard printing is CMYK (Cyan, Magenta, Yellow, Black) but with Hexachrome, there are 2 new colors (Orange and Green) added to the mix. It makes for a much richer color in printing. I don't think it matters nearly as much in fabric. I know it says "chrome" but it doesn't add any reflective properties. I'm pretty sure Black is just Black.
-
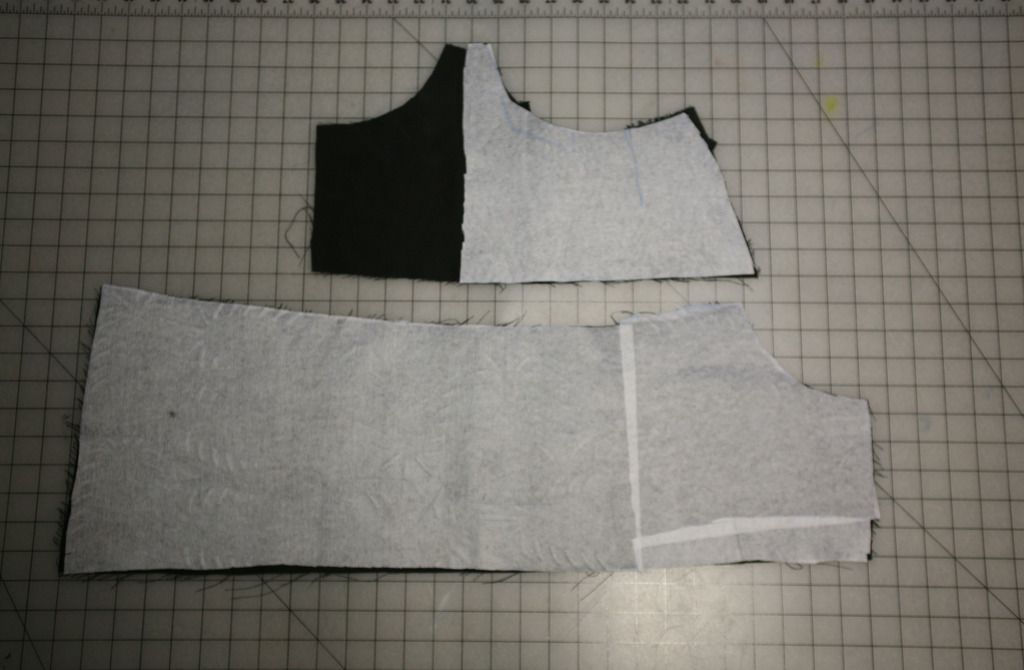
Let's start with the Left pocket. Pin the 2 pieces together and sew just like everything else.
Once you have the pieces sewn and reinforced, it is time to press. Press the seam flat, I prefer to start with the side that has the Interfacing on it, just to get it out of the way. Once the seam is flat, I use more heat bonding seam tape. On to the other side. I press that flat and more seam tape.
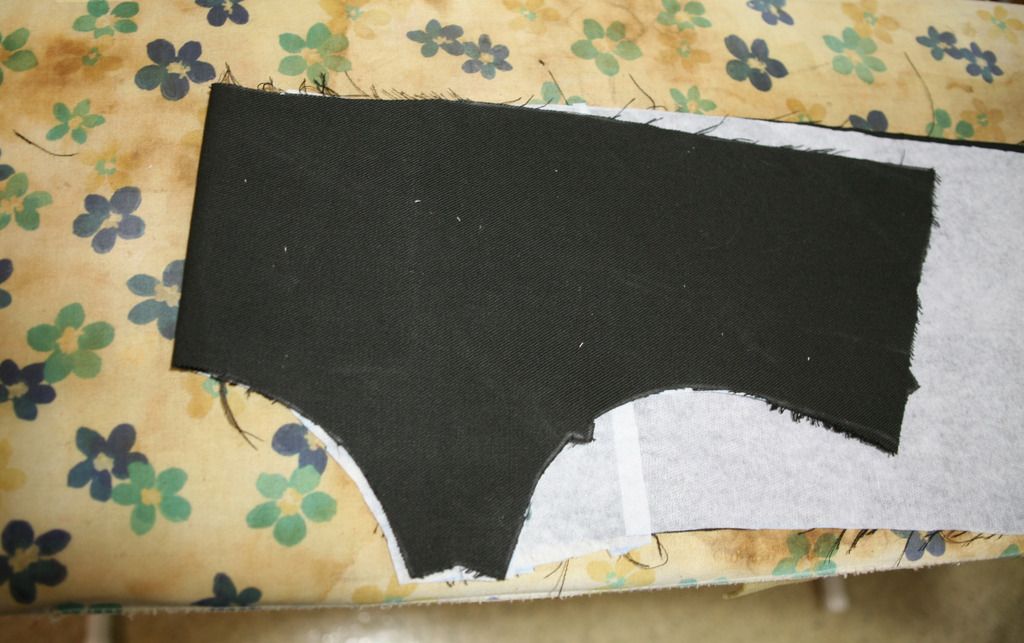
I fold the back piece in half (about where the interfacing ends) and match up the sides. Press that flat and voila. The pocket is done.

I tend to pin the sides together and use a zigzag stitch to make it one piece.
-
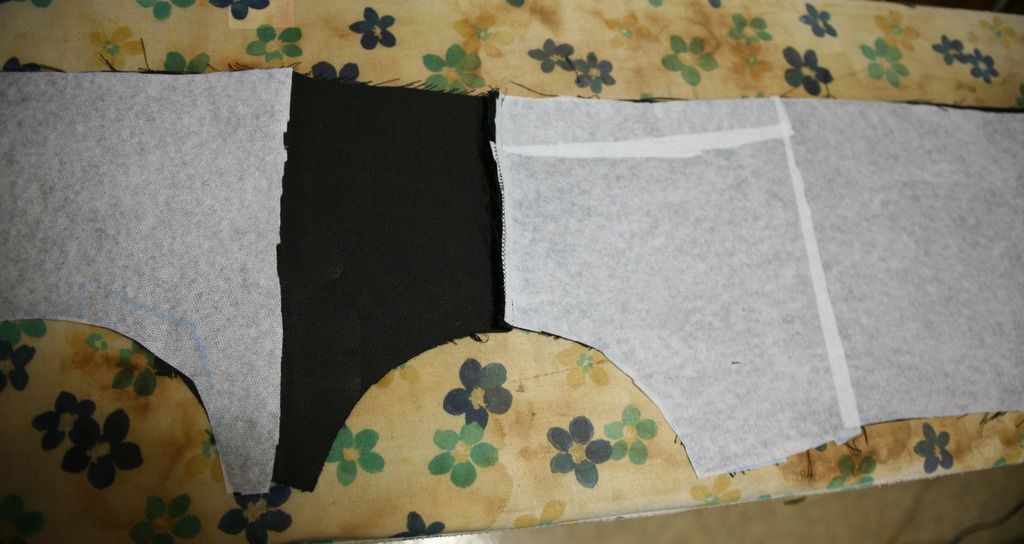
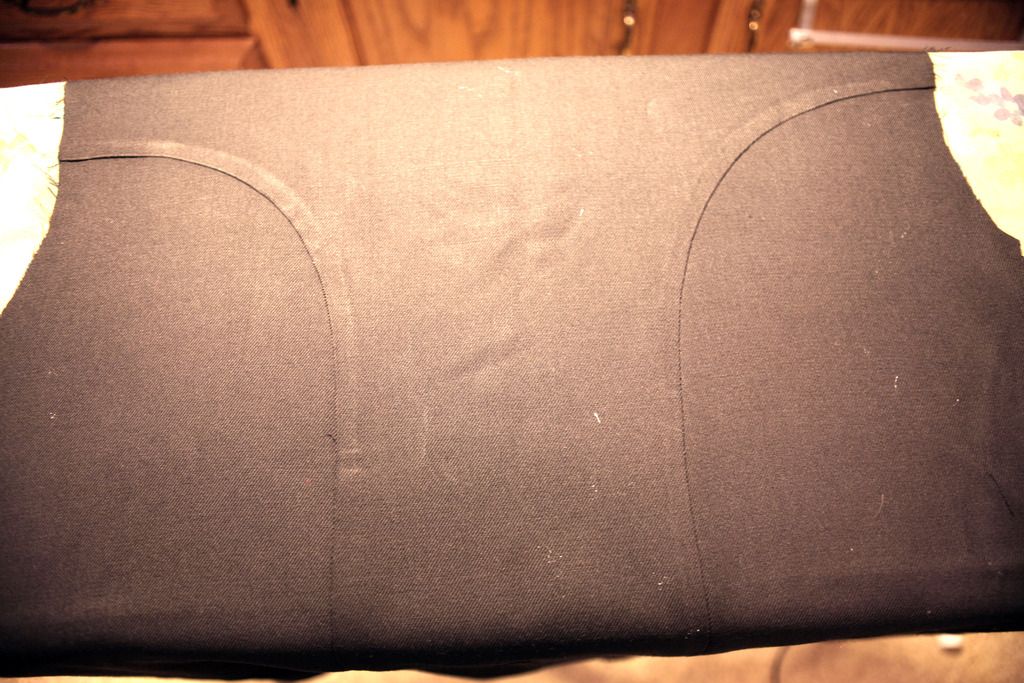
Now for the fun part. Interfacing... The interfacing I use (950F Shirtailor) is as much about pressure as it is heat. I have actually broken ironing boards, and the handles of irons by pressing too hard. I now use a wooden bench with a towel over it. Cut out the interfacing and press.
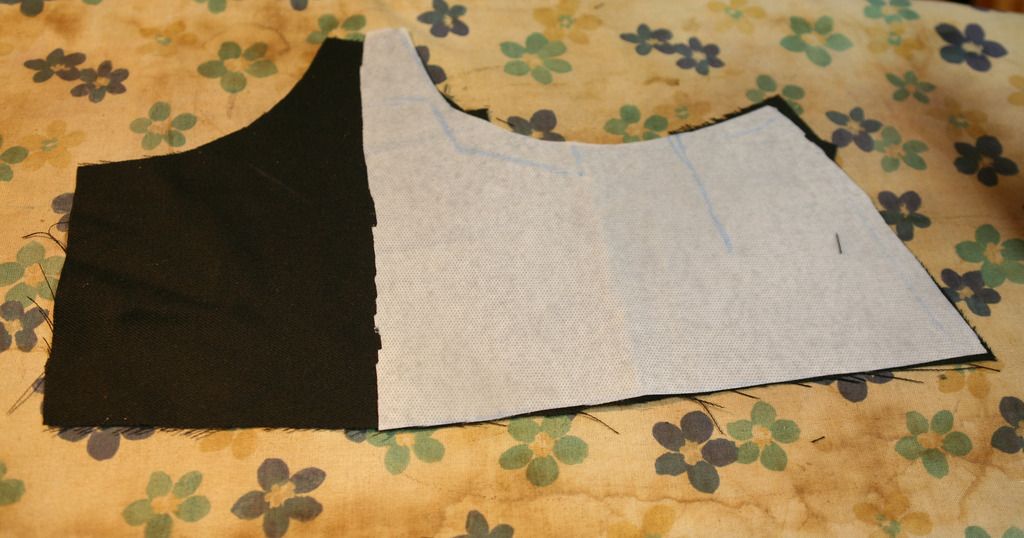
After you have all the pieces cut out and fused, it is time to move on to pockets.
-
That is not a good hat. There is no interfacing in the flaps, no lining, and the stitching is sub par.
-
Let me see if I can a public forum that covers it.
-
The hat is decent. It matters more that there is no size on it. Those things vary greatly...
If you want a critical view on it:
- The shape is choppy.
- The top of the brims should end sharply at the top of the hat, these are a little below.
- I like bulleted lists.
- The visor and front flap should form a straight line, not a curve.
- The stitching is too close on the visor.
- The lining is too large.
I would give it a solid "C+" It's a good $25.00 USD hat, not a $52.00 hat. But I make them so I am a little more critical than most.
-
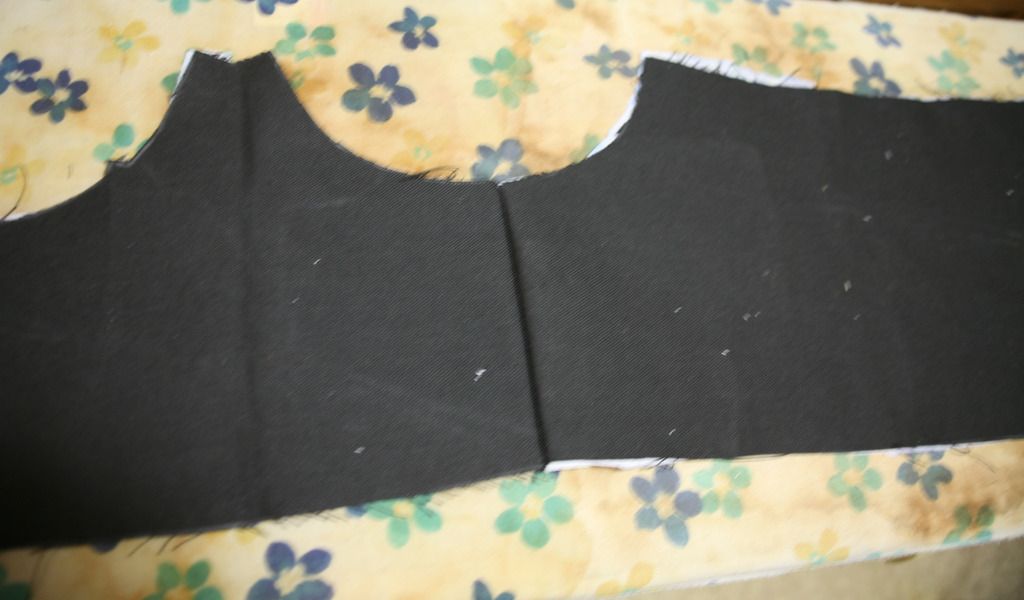
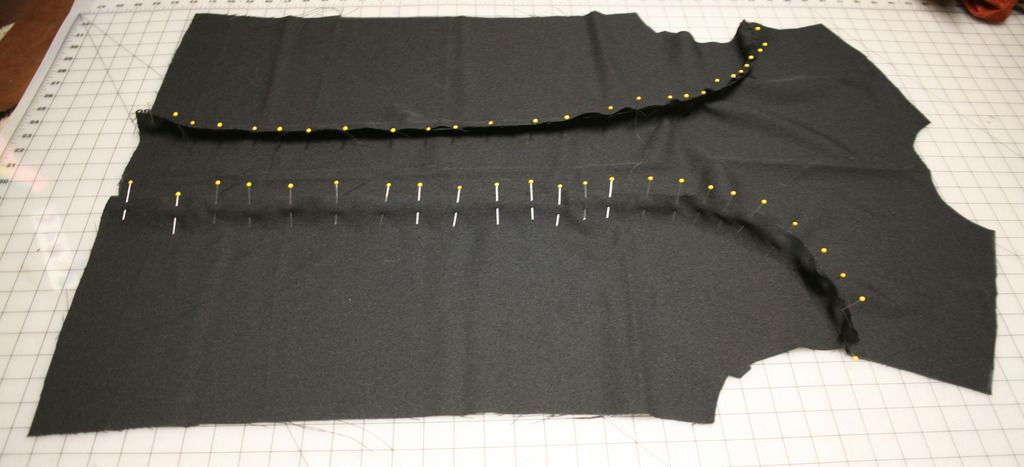
After I straight stitch the sleeves and back, I zig-zag stitch the edge. I use a pretty large zig-zag, about a 1/4" total. I like it to end on the edge of the fabric, to replicate an overhand stitch. Not everyone has a Serger, and this does a fine job of closing the edge.
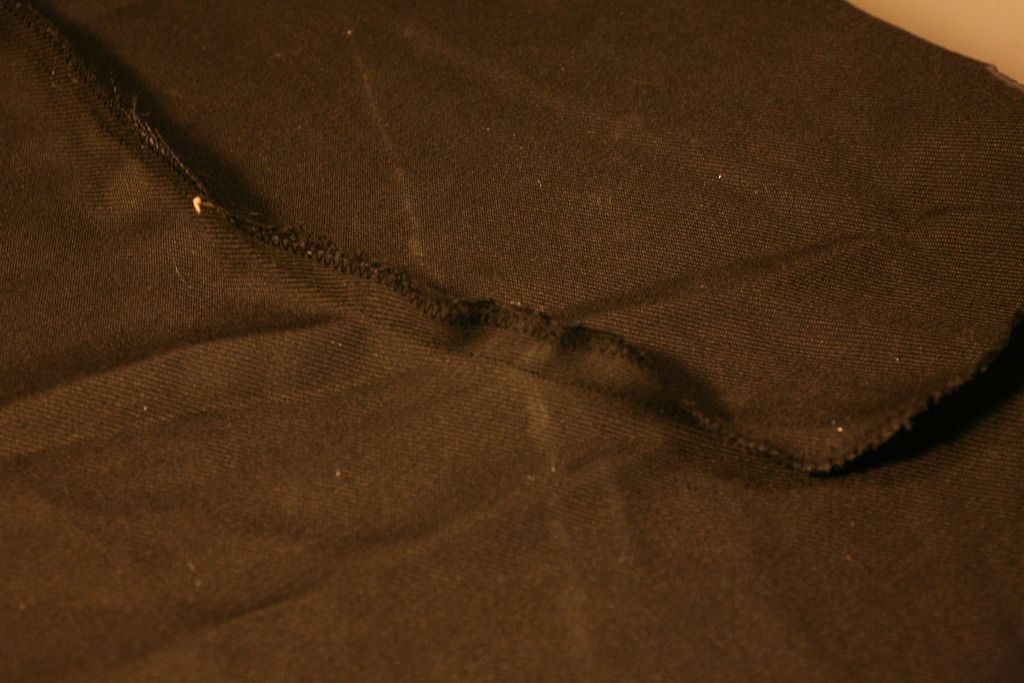
After that, I press... and press... and press...
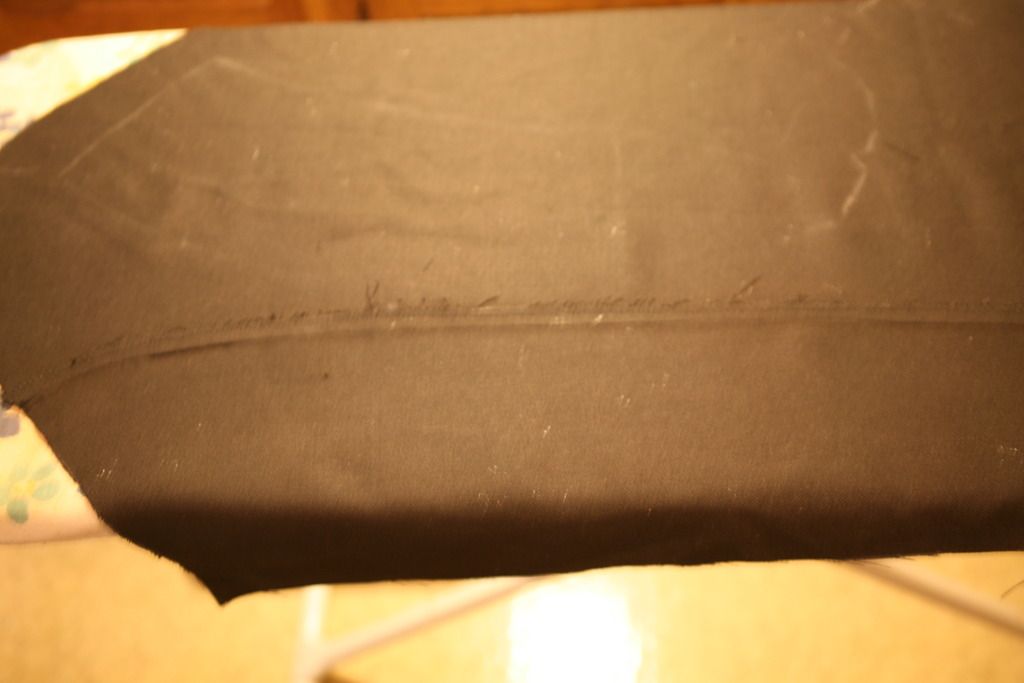
After all the pressing is done, I tend to use a heat bonding seam tape. Dritz Stitch Witchery, or Heat-N-Bond are 2 available over here in the states. I do this for EVERY seam; most people don't do this, and that is fine. If you are going to skip a step, that is the step to skip, But I still do it. It just leaves a nicer seam when everything is said and done.
Something to keep in mind is that there is NO top stitching. Ironing now is the best way to get a great result. Don't rush, don't half-ass it. Take your time and do a great job.
-
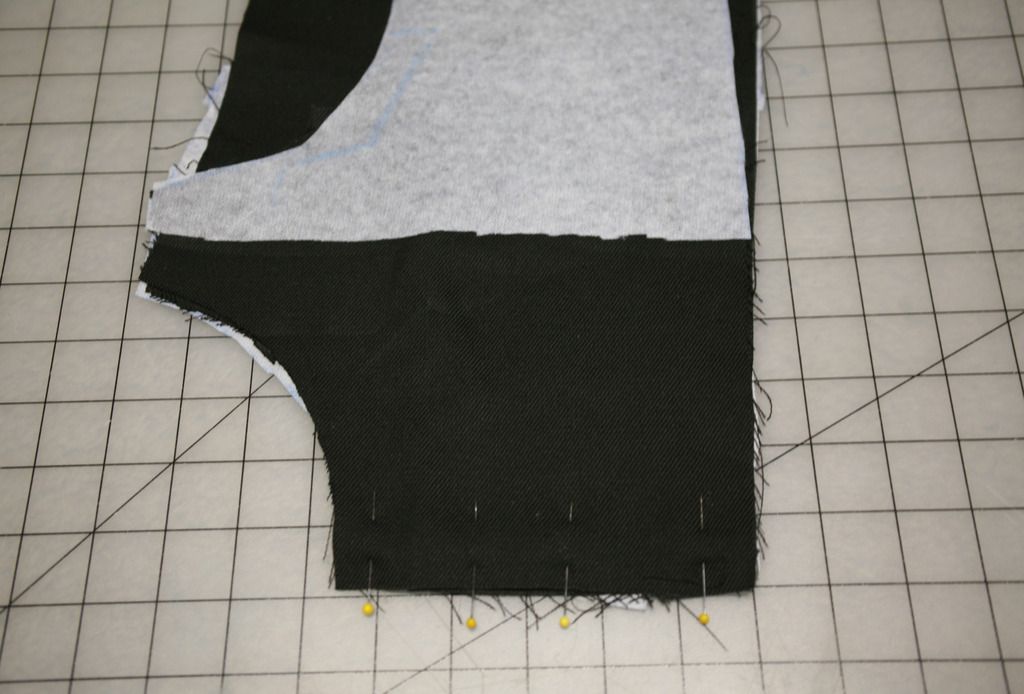
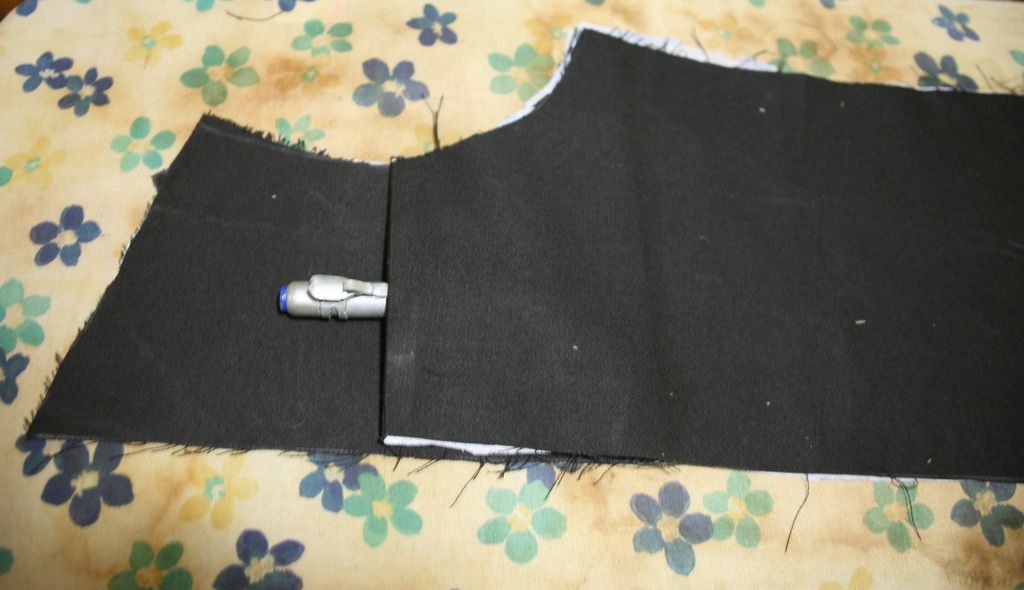
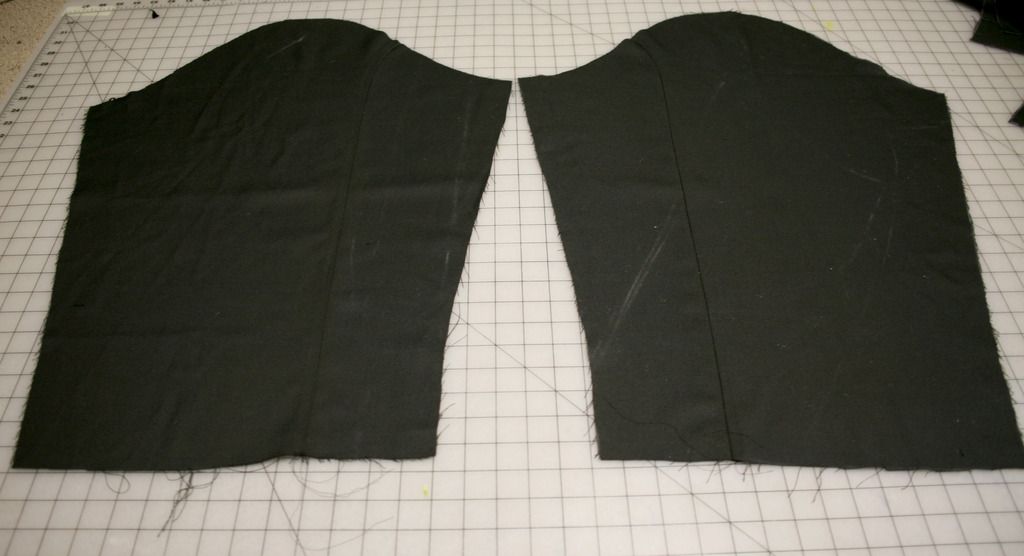
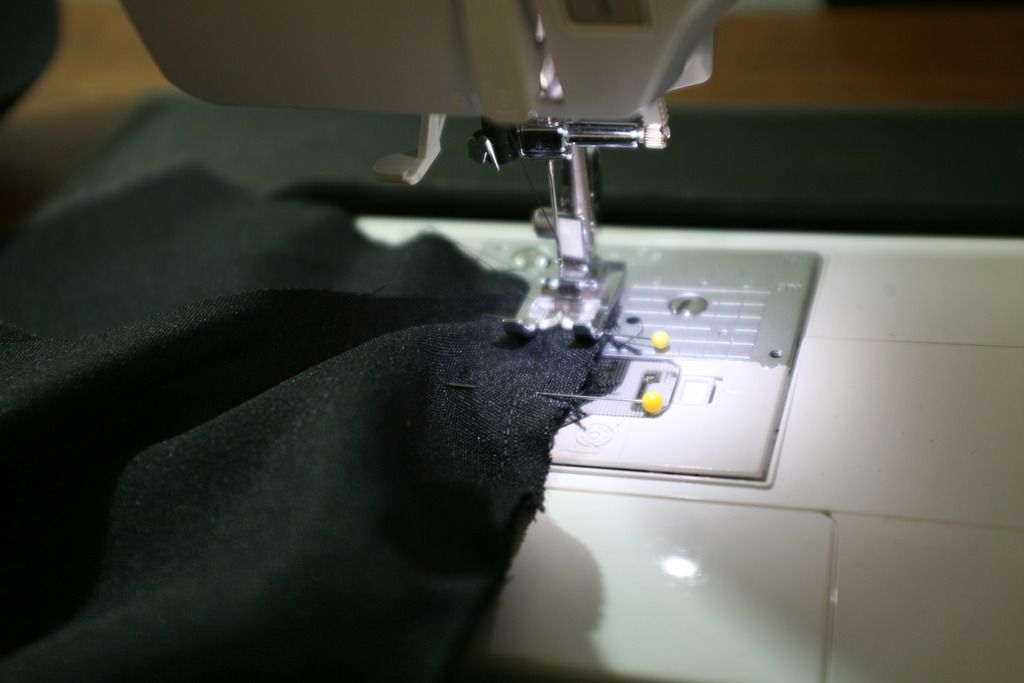
Next we sew. I have my presser foot and needle set so that I have 1/2 from the needle to the edge of the foot. I basically just run the foot on the edge of the fabric. I am using standard settings.
-
-
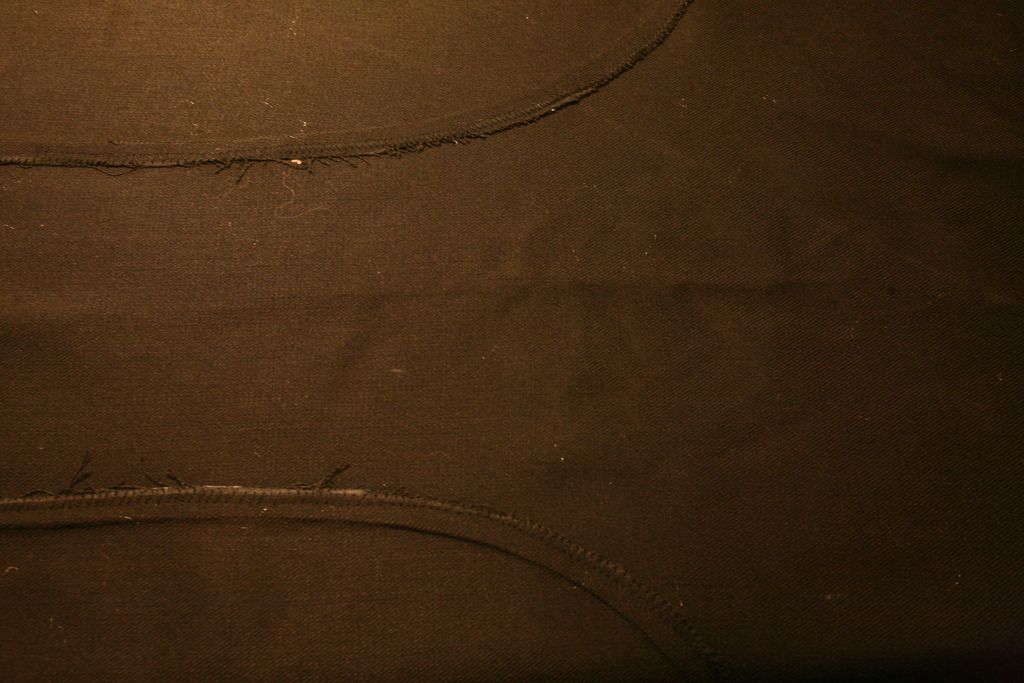
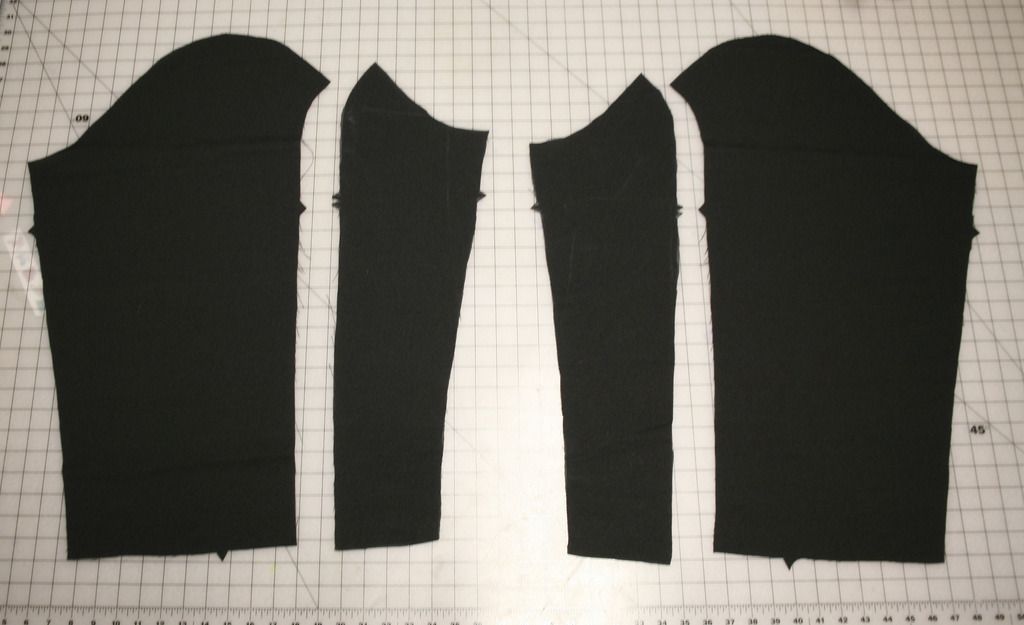
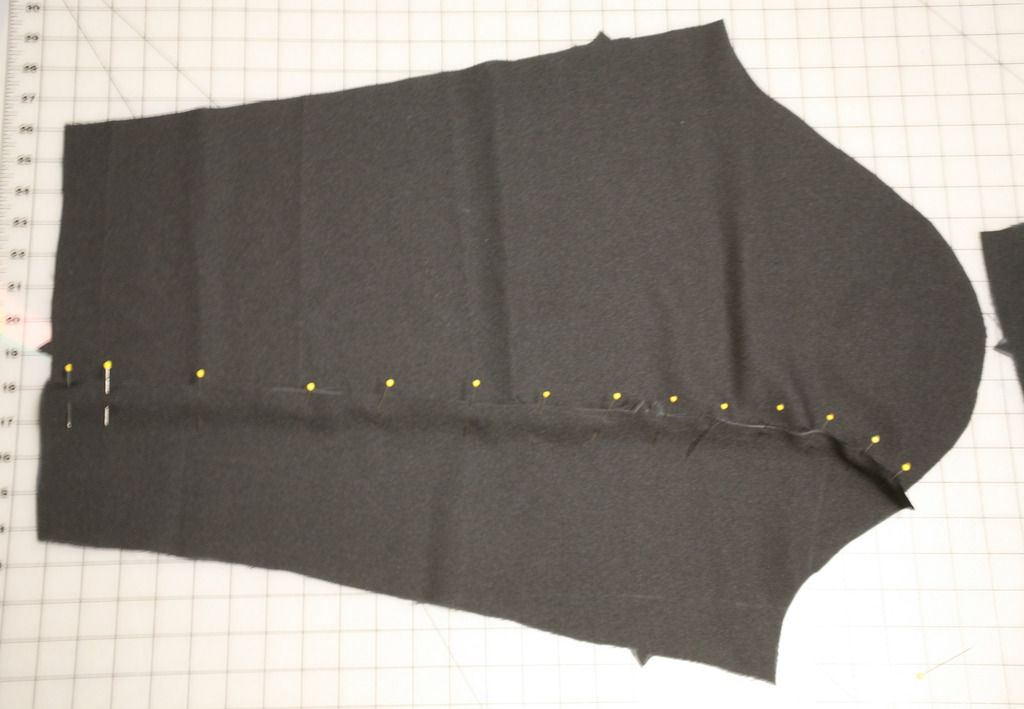
After I cut out the pieces, the first thing I do is pin the princess seams in the back
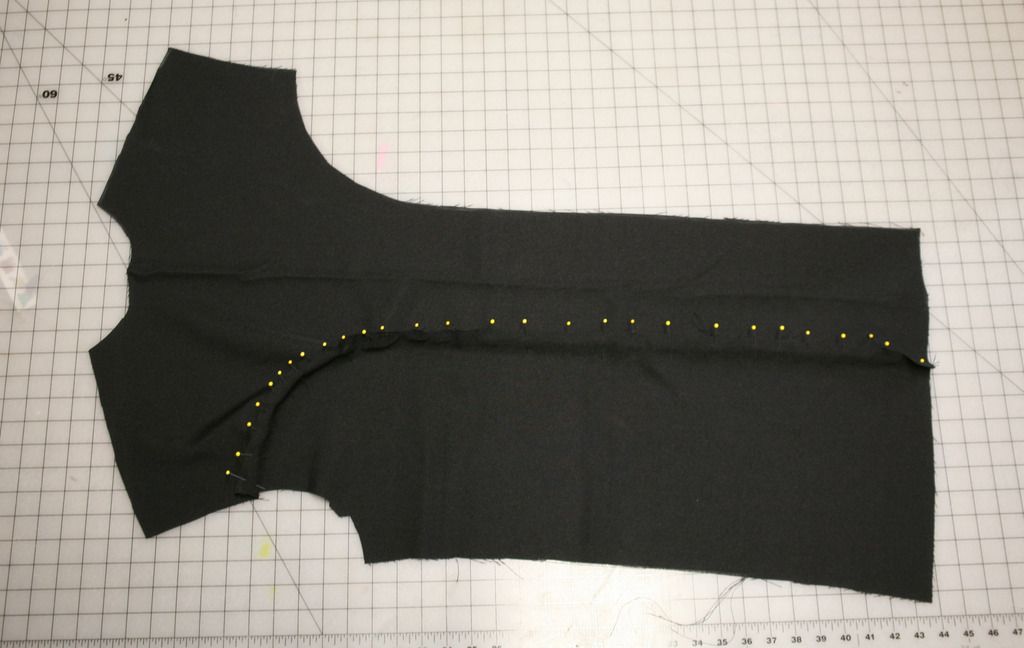
I have always found it easier to start at the sleeve and work my way to the end. The curve is annoying to pin, and I like getting that out of the way.
If your ends don't quite match up, most fabric has a slight give, and can be stretched a little along the straight seam without making the suit bunch. If the ends are off a lot, you might want to double check the curve. It should match up pretty well.
Looking for the correct flight suit...
in Costume Questions - Ask Here!
Posted
I sew my own, but I'm weird. WampaWear has superb products, and I highly recommend them.